 Party of Five: My First Dinner Party
 Wine
White & Reds of various sorts, courtesy of my guests and Pasanella & Sons, a local wine shop that I adore.
Note: I’m purposely not getting too detailed about wine because it’s a beast I’m not ready to tackle. I enjoy drinking all kinds, so let’s just leave it at that. Also, note, that if you ever come to one of my dinner parties, champers holds a special place in my heart…
Goat Cheese Toasts courtesy of Giada’s Everyday Pasta
Manchego & Cheddar Cheese courtesy of my friend Beth (who also brought me lovely tulips)
Filet Mignon
Asparagus bundles tied with Scallions
Potato Gnocchi with Thyme Butter sauce courtesy of Giada’s Everyday pasta
Strawberry Ice Cream
Pistachio Macaroons
Snickerdoodles
ATTENDEES:
Beth, Joe, Paul & Kristen plus me makes it a party of 5!
THIS COOK’S STORY
I made the big move. I have a great cooking kitchen and FINALLY, some space to entertain. The time had come to throw my first real, grown up, sit down, dinner party. And throw one, I did. Here’s how it went…
Choosing the Menu
I chose the Goat Cheese Toasts because I had made them before and knew I could prep them ahead of time which was going to be clutch. My main course inspiration came from Bridge Café. I ate there recently and it was delicious. One of their signature items is Buffalo Steak and it was served with a Lingonberry sauce and sides of Broccoli Rabe and Potato Gnocchi. Since I knew I could make gnocchi, I decided on doing a red meat with gnocchi on the side and instead of Broccoli Rabe, I chose Asparagus (because I like it and it’s in season). I cheated a little on the dessert…I had received an awesome ice cream making attachment for my Kitchenaid as a housewarming gift, so I made a batch of strawberry ice cream with it last week which I still had. I mean, who doesn’t like ice cream?
I also wanted to give out some goodies as party favors and I had bought this cute stamp that says “from the kitchen of” to put on bags, so I had to think of a small dessert-y item. I dusted off my Nigella Lawson, “How To Be A Domestic Goddess” book and found what appeared to be a simple recipe for Pistachio Macaroons. I guess the fact that I’d use simple and macaroons in the same sentence illustrates just how much of an amateur I am. But when I needed a quick and easy replacement in a fix, I went to the fail safe, 6th grade home economics, impossible to mess up: Snickerdoodles! More on that later…
The Prep
I went into this knowing I needed a solid game plan. Getting everything timed out correctly so everything could be served…and be hot…was going to take some serious organization. This is how I divided things up (and also a unique insight into what a dork I am about planning things):
Saturday
-Whole Foods Grocery shopping
Sunday
-Shopping for meat at The Meat Hook in Brooklyn
-Making the macaroons (I had a feeling they’d be a fail, so I wanted to give myself time to make a replacement if I needed to)
-Making the crostini & spread for the goat cheese toasts
Monday: D-Day!
-Making the Snickerdoodles (nice move with the macaroon planning ahead)
-Make gnocchi in afternoon and store in fridge until dinner time then cook with sauce while filet is resting
-Prep final toppings for the Goat Cheese toasts
-Prep Asparagus
The shopping for this was pretty easy. The ingredients were basic and there weren’t really any surprises or mishaps. Except for one issue I need to address with Whole Foods: Please, please, please, label your food better. You have tons of fresh produce & foods but your labeling just sucks. By sucks I mean: usually missing from items I need or cannot identify. My suggestion would be to stop wasting time with elaborate signage that goes into historical diatribes and recipe suggestions for easy to identify and familiar foods like lemons, limes, carrots, etc. PLEASE label things that no one (ie: me) knows how to identify: chives, scallions, different mushroom varieties, shallots, etc.
This problem also occurs at the olive bar. The sign said the olives I chose didn’t have pits. They did. That meant I had to cut them up with a knife and take the pits out to make the Goat Cheese Toast topping and I wasn’t able to use the food processor. Not good, not good, Whole Foods. I love you, but you need to work on your communication skills. And by the way Whole Foods, I don’t think Scallions and Chives are the same thing. But when I asked for Chives, the guy showed me what was labeled as Scallions. I felt so stupid that I didn’t know they were the same thing, but then when I told someone about it they said they are NOT the same thing. So, god knows what I have in my refrigerator but I used whatever it is as both a scallion in one recipe and a chive in another---welcome to my kitchen!
Macarooned
Ok, Nigella. You and me are going to have some words.
I guess it was my bad that I didn’t realize how deceiving the simple recipe for Macaroons appeared. Perhaps my first clue should’ve been that you described this cookie as “the world’s most elegant macaroon” and of the recipes in your book, “the one of which I think I’m most proud: cookie bliss.” Clearly, I should’ve read the writing on the wall and abandoned ship immediately after reading that. But, in my defense, you, Nigella, the experienced and professional chef and baker should’ve put a warning in there about the difficulty of this recipe! If you had, the following culinary calamity could’ve been avoided.
Let’s start at the beginning…with the Pistachios. I bought a bag of Pistachios and Nigella, I know it’s common sense that you’d have to shell them, but you could’ve mentioned that it was A TIME CONSUMING PROCESS THAT SHOULD BE ACCOUNTED FOR. I spent an hour shelling pistachios---yes, it took me an hour to shell a total of about ¾ cup needed for the cookies and the cream filling. Granted, I’d never done the shelling before and I’m slow, but it is labor intensive. Thank god you didn’t need that much of them.

Now it was time to grind them into dust with confectioner’s sugar (Whole Foods, take note that confectioners sugar and powdered sugar actually ARE the same thing) in my food processor. Sweet. That was easy. This pistachio sugar dust seems right. Moving on.
And now the trouble starts: “Whisk the egg whites until fairly stiff, but not dry, sprinkle the sugar over and whisk until very stiff.”
Um, Nigella may as well have asked me to butcher my own cow. I am such a cooking idiot that I actually started to whisk the egg whites in a bowl with a hand whisk. I quickly realized that that wasn’t doing anything. Ok, so, I’ll put them in the Kitchenaid, my little machine of wonder. Thanks Nigella, for making it seem like it would take a few seconds with a hand whisk---you needed to say you HAVE TO USE A MACHINE FOR THIS, human hands can’t whisk egg whites (at least not in 2010). While the Kitchenaid was going, I realized this was going to take a while and I started to put the pieces together that this whole egg white situation might be a lot more complicated than I thought. So, I did what everyone in doubt does: I took to the interweb. I Googled how long does it take to whisk egg whites or how do you know when egg whites are done and the types of results I got indicated immediately that this would most likely be the downfall of my macaroon experience.
Apparently, there are ways to tell when they are done, like, they make these little ‘waves’ that don’t fall down, but stay stiff. Really, really, interweb? There were some pics…and words like Meringue came up…all indicators that I was in for a hurtn’. So, I went back and reread Nigella’s recipe…’fairly stiff, but not dry.’ Fairly is not a word to be used in a recipe. And how are egg whites ever dry? Clearly there is a legit answer to that but I did not have it. And clearly, egg whites are something complicated. No wonder they have whole Top Chef challenges about eggs. So, when it looked like I had some ‘fairly stiff’ waves, I decided to call it a day and fold the egg whites into my pistachio dust. That’s about when I found out my dust was more of a gravely mix. Whether it was poor lighting or the dust was on the top, covering the Pistachio gravel, as I folded in the egg whites (which I’m pretty sure I did incorrectly as I had to interweb folding too---thanks again, Nigella), I realized my dust wasn’t so dusty. And, at this point I also realized my egg whites were pretty foamy. But, for all I knew, they were supposed to be foamy---Nigella, a hint at to what they should look like visually would’ve been nice instead of all this dry, stiff talk (which is sort of dirty and gross in itself).
And now it was time to ‘pipe’ the cookies onto the ‘lined’ baking sheet. First of all, I had interwebbed ‘piping’ the other day since I figured it meant use some sort of pastry bag because it also mentioned a ½ inch nozzle. So, I had gone to Sur La Table and bought disposable bags and a ½ inch nozzle. But, nonetheless, some helpful hints about that IN THE RECIPE would’ve been nice. You know what else would’ve been nice was to tell me what to line the baking sheet with. I figured wax paper or something? But I didn’t have that, so I used tin foil which I clearly think was a BAD idea. Hindsight friends, hindsight. Oh and you know what else would’ve been helpful, if she said how big you should make the cookies. Yes, the nozzle is ½ inches but it comes out in a stream, how do I make the circles, how big should they be? Nigella, are you kidding me with this?
My piping bag or as I like to call it: my bagpipe:

It was at this point as I was ‘piping’ that I started to go over some back up plans in my head because I knew there was no way my bizarre looking cookies were going to come out of that oven looking anything like macaroons yet alone the ‘elegant’ ones in the picture. But, I went through with it…although I waited until I took the cookies out to make the cream filling since I wasn’t going to make that if the macaroons were a bust.
So, after letting them sit out for 10 minutes to form a ‘skin’ (which I have no idea if mine did, but I’m assuming not since I didn’t notice much difference), I put them in the oven.
Uhh, here’s what they looked like when they came out:


And here's Nigella's pic:

Yeah, macaroons? Not so much. And thus, they hit the garbage and the butter cream filling never saw the light of day. And so, this cook was officially: Macarooned.
Thankfully, I was rescued by Emeril’s delicious recipe for Snickerdoodles…which I had all the ingredients for in my kitchen (except the cinnamon, which I quickly bought)
Let’s get this party started!
I’m going to be completely honest…once I started really prepping and the cooking really got going, I was so absorbed that looking now at my phone, I realize I forgot to take a lot of pics, meaning I took pretty much zero pics of the food. Sorry about that…I promise to do better next time. And since reading my rants isn’t nearly as entertaining as reading them with illustration, I’ll spare you the details and give you a few of the highlights:
· Meat: I got an awesome filet from The Meat Hook and conquered my fear of cooking meat—it’s really so easy! sorry the only pic is of it while its packaged sitting out getting to room temp before I cooked it (yeah...there's a little tip for you...)

· In related meat news: My meat thermometer is totally broken. I had tried to use it the other week to get the temp of a liquid when I was making ice cream and it didn’t work then, but I assumed it was because: a) you can’t use a meat thermometer to take liquid temps b) I was doing it wrong or c) I left the cover on it like a total dumbass. Well, turns out besides being a dumbass, my meat thermometer is just plain broken
· The Asparagus was really good…I drizzled it in oil & seasoned it with salt & pepper before baking it in the oven. I saw a recipe that said to cook scallions with it and then tie them around the asparagus in bundles. Uh yeah, that doesn’t work because it’s all hot when you take it out of the oven. So bundle, I did not. A minor visual detail. And who knows if that was scallions or chives in there---I’m still not sure.
· I set a lovely table…which I DID take pics of:


· I improved on my gnocchi making process so they were all uniform size. I rolled all the ropes at once & lined them up together so they matched, then cut them in giant cuts that went through all the ropes. God, I’m getting good. And I got a pic of that too:

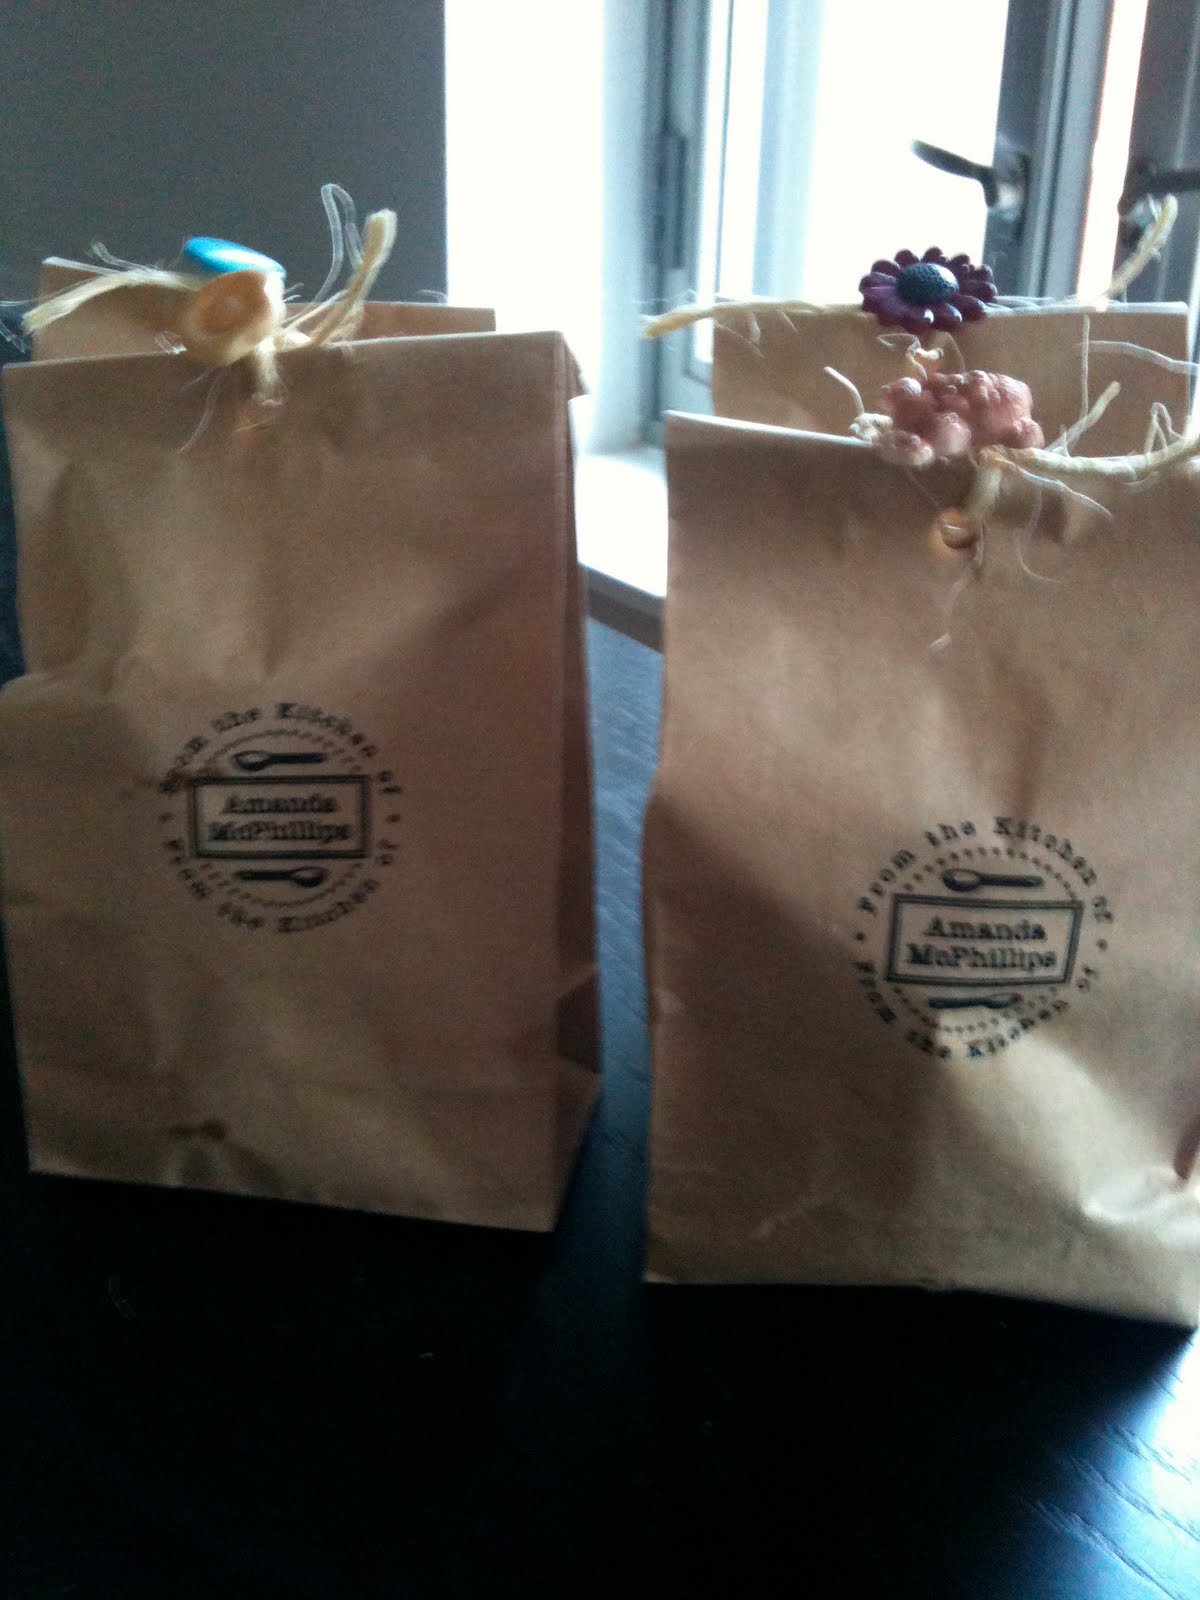
· I made these adorable goodie bags filled with Snickerdoodles & tied them with buttons & twine for my guests to take home with them…they were a hit!
· I used lovely cloth napkins. And everybody knows if you use cloth napkins you are officially a grown up.
· Everyone had fun and no one got sick: Awesome!
And so ends the tale of my first dinner party…stay tuned, dinner party number 2 is up next Friday and I’m turning up the fance for that one---hello, champers!!!!


