Every meal has a story...

Monday, April 5, 2010

Pizza Gain: This Cook's Easter Story!

THE RECIPE

Easter Pizza Gain

Nancer’s special recipe

Ingredients

5 pizza doughs

30 eggs

1 egg yolk

about 2-3 cups of milk

Lots of:

-Salami, Prosciutto, Capicola, Pepperoni, Provolone

Directions

Preheat oven to 375 degrees.

Cut all of the meat & cheese into small squares. Combine 3 pizza doughs and work out the dough, stretching and rolling it until it fits across one giant sized pan (a standard sized lasagne pan or other rectangular roasting pan). Once dough is spread in bottom of pan, dump in all of the cut up meats & cheeses. Whisk together about 18 eggs and 1 ½ cups of milk until well mixed. Pour mixture over meats & cheeses. You will now see you need to make more of this egg & milk mixture. Make some more using another dozen eggs and 1 ½ cups of milk. Pour mixture over meat and cheeses. Combine the remaining 2 pizza doughs, work out, stretching and rolling until it fits over top the giant pan like a doughy tent/lid. Brush egg yolk over the top of the dough and place in oven.

Cook as long as necessary, meaning until dough looks golden brown and egg is cooked through (you can test by placing a knife into center & seeing if it comes out clean). And don’t forget to line the bottom of your oven with tin foil as sometimes Pizza Gain gets a mind of its own while its cooking and some of the 30 eggs can bubble through the top crust and out onto your oven floor---which can lead to burning smells, smoke and smoke alarms, none of which contribute to a calm and peaceful cooking atmosphere. Cooking time can range from 60-120 minutes. (yes, I’m aware this is a long window)

When Pizza Gain is done cooking, take out and let cool. Once cool, cut into large chunks. When you cut your chunks, some of the filling will fall out. Push it back in and wrap it tightly in plastic wrap or other food wrap. Put in the refrigerator to chill. When you are ready to serve, take out of the refrigerator cut into small slices (like Stromboli). Since you wrapped it tightly and chilled it in the fridge, the filling will no longer fall out. Place your slices on a microwave safe plate, cover & microwave until it heats to the temp you prefer, remove and serve.

THIS COOK’S STORY: The Easter Edition

Every year, my Mom and I have Easter brunch at Nancer’s house. Nancer is an excellent cook who specializes in Italian and who is also a close family friend, second mother and now guest Chef of the blog!

And while I don’t love Easter as a holiday in general---I think because of the pastel colors and visions of ham that dance in my head alongside church-y smelling Easter flowers, I have always looked forward to eating Pizza Gain (among many other delicious concoctions) at her house. This year was no exception. But, I was also in for a very special treat, because she taught me how to make the beloved Pizza Gain & I did!

Here’s our Easter story...

What is Pizza Gain?

While I know Pizza Gain as something delicious I eat on Easter, I knew it had a legitimate story so I took to the interweb to find out more about it and here’s what I discovered

· Pizza Gain is also known as: Pizza Piena (stuffed pie), Pizza Rustica, Italian Easter Pie & I’m sure, many more names…

· Pizza Gain is the traditional ‘Italian American’ nomer for the meat & cheese filled pizza pie

· What goes into a Pizza Gain varies based on regions & areas of origin in Italy:

o Some contain ricotta, hard-boiled eggs, sausage and even macaroni (sidenote: isn’t macaroni a funny word? I always think of the Yankee Doodle Dandy song when I hear ‘macaroni’; I also think macaroni should only be used by adults when talking to children about pasta.)

· The tradition is said to have started when women in Italian villages would cook up the overflow of meats not eaten during Lent. They’d make the Pizza Gain on Good Friday, then not serve it until after noon on Easter Saturday (the end of Lent---or so I’m told) when it was legit to gorge on meats and bad for you food again.

· It tastes very good.

Pizza Gain: A Warning

Having the honor of this recipe bestowed upon me comes with responsibility. Therefore, as I pass on my newfound knowledge it becomes my duty and obligation to present you with the below info and warnings.

Pizza gain should not be consumed on a regular basis. It’s heart attack inducing and cholesterol building ingredients are best enjoyed sporadically throughout the calendar year even though once tasted, they can become habit-forming drugs. Symptoms that can result from over-indulgence of Pizza Gain include, but are not limited to:

· Meat Sweats

· Meat coma induced euphoria

· A sense of feeling so full you will never be able to eat again

· The need to eat one more piece even though you have experienced the above 3 symptoms simultaneously

If you or someone you love develops an addiction to Pizza Gain, you should seek the professional help.

i.e.: get your butt to the gym and stop stuffing your face with this fatty food, you fatty.

Commence Cooking!

Making the pizza gain was pretty easy, but that’s because I was an apprentice chef to Nancer who was there directing my every move. I pretty much followed the instructions I wrote above which she walked me through and voila: Pizza Gain!

I would highly recommend employing the tin foil to line your oven like I noted in the directions as well…that was really the only bump in the road. That and coming to terms with the fact that THIRTY, yes 30, THIRTY, eggs are used in the making of this dish. If you can accept that and own it, you’ll be able to make Pizza Gain anytime (and by anytime, I mean rarely, please see Pizza Gain: A Warning, above). Since the ingredients are so plentiful, I felt a pictorial guide to the process would be the best way to illustrate the process. Enjoy:

Step 1: Cutting up the meat & cheese. This photo doesn't do the sheer quantity justice. I know the recipe calls for 'a lot', I should've done a better job of noting just how much, but I'd say a 1/2 lb of each ingredient, at least...

Step 2: Battling the dough to get it spread in the pan can be tough. But keep at it tiger, you'll get it!

Step 3: Put the meet & cheese in its new doughy home

Step 4: Put in first 18 eggs & 1 1/2 cups of milk. Realize you need more, prepare another dozen and some more milk.

Step 5: Put on the 2 dough lid

Step 6: Bake that bad boy!

Step 7: Cut into chunks for refrigeration. This is what a chunk looks like after its been wrapped & chilled:

Step 8: Cut into slices and serve up. Sorry, I was so busy eating, I forgot a pic of this! You'll just have to see for yourself when you make your own Pizza Gain!

SPECIAL THANKS!

I’d like to give a special thanks to Chef Nancer who made this post and all the scrumptious deliciousness that resulted from it possible. Ciao!

Thursday, April 1, 2010

Gnocchi: A Recipe From the Vault

THE RECIPE: From the Vault

Note to readers: “From the Vault” recipes are ones that I cooked up at my old apartment before the big move of March 22, 2010. Since I was engrossed in moving, I didn’t get to write a bunch of them up and they were backblogged. So, I will be rolling them out over the next few weeks, mixed in with my latest concoctions. Enjoy!

Gnocchi with Thyme Butter Sauce

Giada De Laurentiis, Everyday Pasta

Ingredients

Gnocchi

2 baking potatoes, such as russets (about 12 ounces each)

1 egg, lightly beaten

1 teaspoon salt

½ teaspoon freshly ground black pepper

¾ cup all-purpose flour

¼ cup shaved Pecorino Romano, for garnish

Thyme Butter Sauce

¾ cup unsalted butter (11/2 sticks)

1 tablespoon fresh thyme leaves

Salt and freshly ground black pepper

THIS COOK’S STORY

Gnocchi. The word itself struck fear into my heart. I’d always been nervous to order it at restaurants because I was afraid those little balls of goodness would sit in my stomach like rocks. The thought of buying them at the store and making them seemed absurd---surely, I’d mess that up. And the idea of making them from scratch seemed to be a feat comparable to me building my own space shuttle and circling Mars. But, once again, Giada to the rescue.

It’s as if she knows just how little I know about food and cooking and caters to my lack of knowledge with truly simple recipes. Case and point: Gnocchi. While I still struggle with how long to cook boxed pasta (& yes, I’ve thrown it onto my wall to see if its done before), her recipe for this culinary challenge seemed easy. Shall we?

The Warnings

When I told people I was making gnocchi, reactions were pretty much all the same: disbelief.

“Really, you’re making gnocchi?”

“Did you carve out an entire afternoon…my grandmother spends the whole day making gnocchi…”

Uh oh, what was I getting myself into? But, how can that be possible, Giada’s recipe does not involve making the “flour & egg volcanoes” I was warned about and the cooking time of the finished gnocchi was like 3 minutes—OMG, really? 3 minutes? This all seemed too good to be true.

Haters, step aside, I am making gnocchi…let the preparations begin!

Shopping up a storm…literally

I decided to cook this dish the weekend of one of the 90 blizzards that hit NYC this year. It started snowing on Friday and that’s when I decided to go shopping for everything I needed. Smart move!

I had to hit up Sur La Table to get a rolling pin because the recipe mentioned rolling each scoop of dough “into about a ½ inch diameter rope.” While the idea of rolling dough into ropes seemed sort of an oxymoron, I saw “roll” and figured “pin,” so I bought one. More on how well that worked out for me later…

Next up: Whole Foods. Oh yeah. But before I trudge to Whole Foods, I have to go back to Sur La Table. Why, you ask? Well, I decided to try to be efficient and go get the rolling pin in the am, before work. Then while at work, I decided I also needed to get a mini food processor. What better time to go get it than as dark was falling and the snow was picking up? So, back to Sur La Table for a pit stop and a processor before heading out to the Whole Foods on Houston.

My local Whole Foods is the one in Tribeca. I love that one. It’s never crowded, it's spacious and I know where everything is. The one on Houston was crowded, cramped and I know where nothing is. After trying to track down Thyme…and not seeing any in the fresh produce section, I found some packaged in a random side section. I had never actually seen Thyme before and I quickly knew some Googling would be in order once I got home to figure out how to use it.

I managed to survive that Whole Foods and then spent 20 minutes trying to find a cab as I sloshed through that special mix of snow, sleet and dirt that can only be found in NYC. Making the gnocchi could not possibly be as painful as this, right?

Commence Cooking!

Since the sauce consisted of 2 ingredients: Thyme & Butter, I figured I’d leave that for the end and get started with the gnocchi.

What’s in gnocchi? I certainly didn’t know until I read this recipe. I think there are several kinds of gnocchi you can make and these were clearly potato gnocchi. Step #1: microwaving 2 potatoes and then scooping out the hot insides. Now, this sounds simple, but normally when things sound simple they are anything, but. Lo and behold: it really was that easy!

Cook and scoop potatoes: CHECK. And, Dear Giada, thanks for offering up the option to cook those taters in the microwave!

Now I just had to throw in the egg, some salt & pepper sift some flour (oh yeah, I had to buy a flour sift at Sur La Table too) and stir it up until it was blended. Done.

Now. The scooping and rolling.

Scoop out a large spoonful of dough: CHECK.

Roll said dough into a rope: Uh, what?

I had my pin, I had my dough but this was NOT making sense and of course there were no pics in the book that illustrated this process. And why was the dough sticking to my rolling pin…aren’t you meant to flour those suckers or something? Why wasn’t anything written about that in the recipe. GIADA, this is so not like you!!

After a few unsuccessful rolling attempts and no rope, I had a culinary epiphany: I was meant to roll the scoops in my hands to form long ropes! Like if you were making snakes or worms with play dough! EUREKA! I didn’t need this rolling pin afterall…phew, cause that was not going so well.

Rolling dough and creating gnocchi: CHECK.

And so the process of making gnocchi snakes and cutting them into one inch pieces began. The whole rolling the individual gnocchi over a fork to make pretty indentations wasn’t the smoothest process, nor the most productive, but I think I managed to make them look half decent.

Once all of my gnocchi where shaped, it was time to get the sauce ready & cook those puppies.

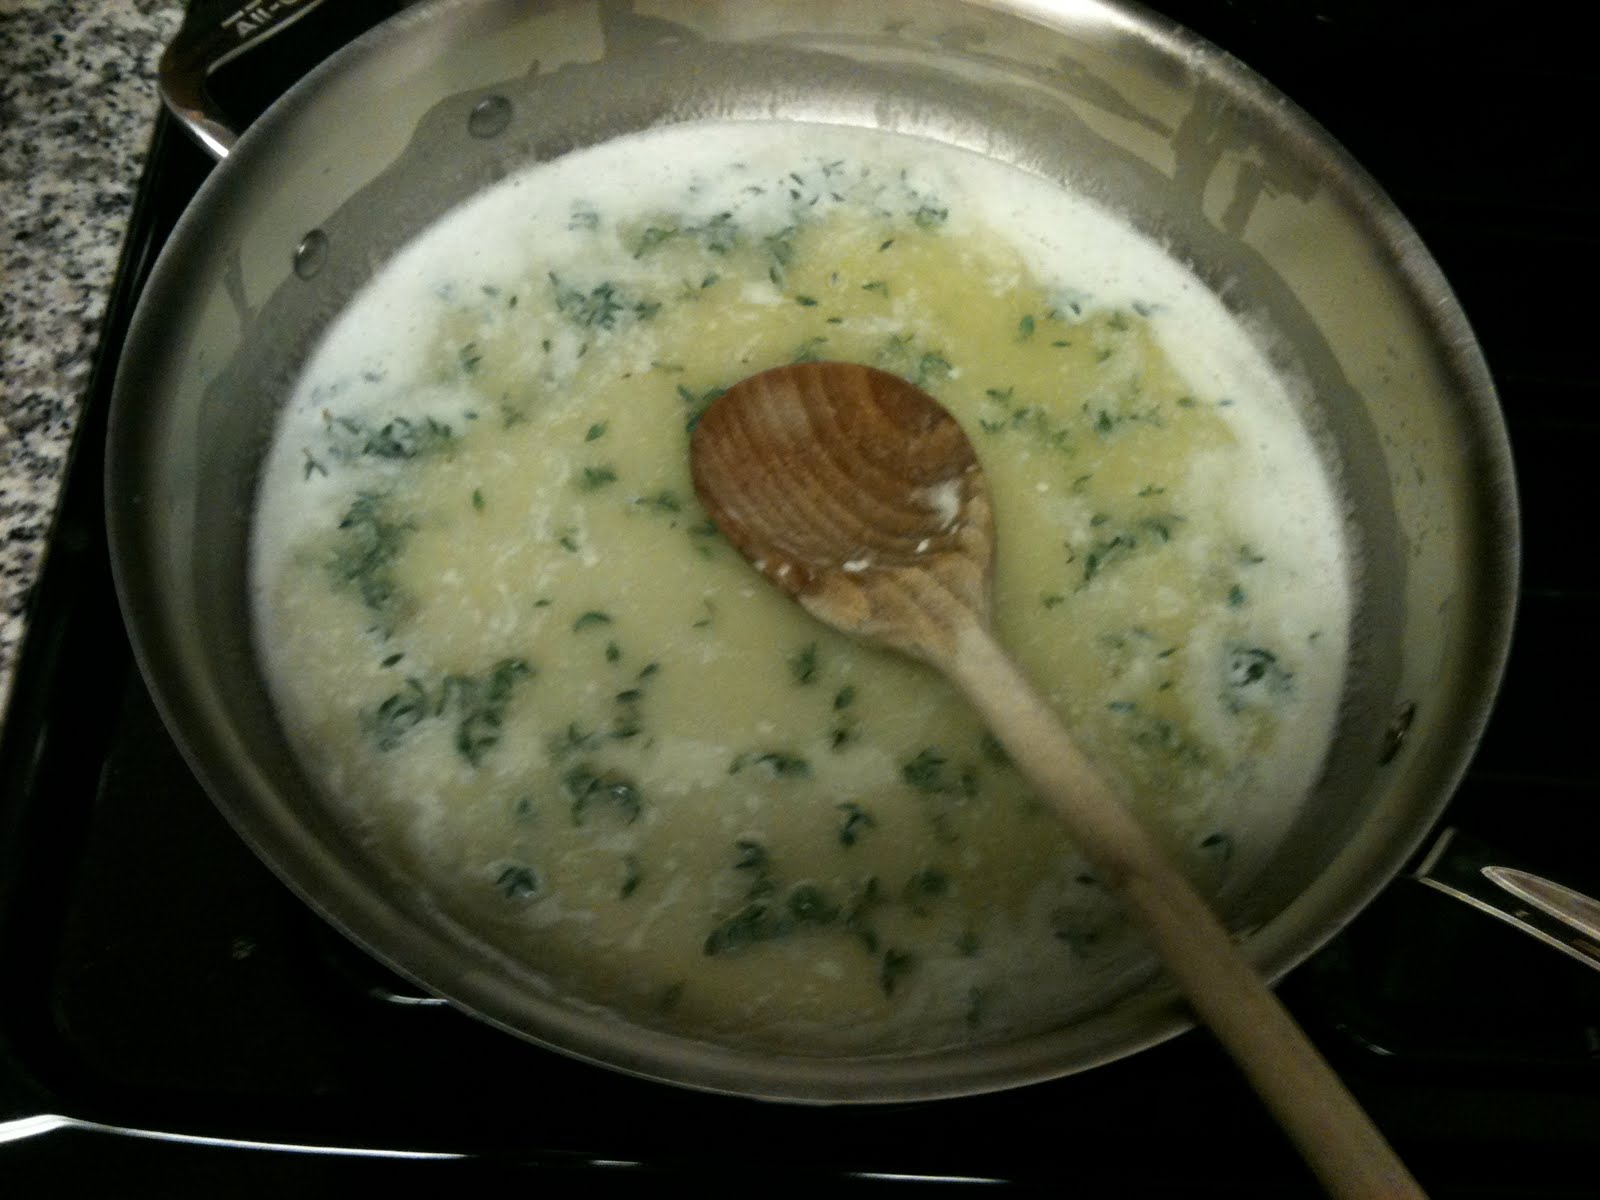
Hence, cutting the thyme. I Googled it and a Youtube video came up with this guy who showed you how to get the leaves off thyme. Yeah, I watched it. And no, it’s not really that easy to slide the leaves off the stem like the guy in the video did (nor is it that easy to enjoy the process as much as him), but I managed. I tossed those into the pan with the butter and it’s back to the gnocchi.

Next, cooking the little guys. They only take 3 minutes to cook AND there’s a built in way to know when they are done: they rise to the top of the pot of water. GENIUS! These are the easiest things ever…no, really, they really are. I admit, I was cautiously optimistic about mine actually rising to the top within the 2-3 minute time frame, but they DID!!!!

And so, once they were all cooked, I threw them in the pan with the thyme butter sauce and voila: Gnocchi with Thyme Butter Sauce. I had some friends over for Sunday night dinner and they loved it!

Homemade, tasty, gnocchi: CHECK!